
Hello my lovelies and welcome to BLOGMAS day 17!
I hope you are all doing really well, I cannot believe we're down into single digits and counting down to Christmas. It's going quicker and quicker everyday. Which also means, you don't have long left to sort out all of your presents, which includes wrapping them! So for today's post in true Katie J style I am gonna be showing you how I wrap my Christmas gifts for people. I always wrap my gifts the same whether it's for friends, family, Secret Santa etc. So if you're looking for a way to spice up your present wrapping this year then I hope you take some inspiration from this! Enjoy!

So these above are the supplies you will need...

Obviously, some wrapping paper. These were from Tesco and they are simply gorgeous, plus these are 3 for 2. Would highly recommend this paper as it's stunning. For these gifts in particular I am using the white with the gold glitter reindeer's on.

Tissue paper for the smaller delicate gifts or to do some decoration with.

Ribbons & Bows! Here are some new gold ones we bought recently, but I have tonnes of different colours! Reds, greens, blues, golds, silvers, purples etc. (sorry I forgot to take photo's of the bows)
And of course, were gonna need scissors and tape.

As I said, I am using the golden glitter reindeer paper to wrap these presents I am going to be showing you. These gifts are for my mum and I can say that as she doesn't read my blog.
So once I've chosen my paper, first thing I do is measure out how much I am going to need to wrap this present. This present in particular is two spatulas, a large one that says, "mice pie maker", and the other which says, "mince pie taster", both with red and white lettering with a purple background with white dots to represent snow falling. I thought it was really nice to buy for my mum because she makes mince pies for so many people we know every year. This gift came from a shop called Smart Ideas where they sell a bunch of different items: candles, jewellery, wrapping paper, cards, home wear, piggy banks, little storage tins, trinkets etc.
Once measured and ready I just cut up the side, in this case the right side.

Next step I turn the paper on either side of the present inwards and line them up as neat as I can then place some tape down the middle.

Depending on how straight I've cut the paper in the first place, before I turn the edges in I sometimes have to cut a straight line across because as you can see it's not completely in line with one another to fold it in. Sometimes I can get away with it and just fold it in anyway and other times I do have to cut the edge straighter. I think I did have to cut the edge slightly for this one.

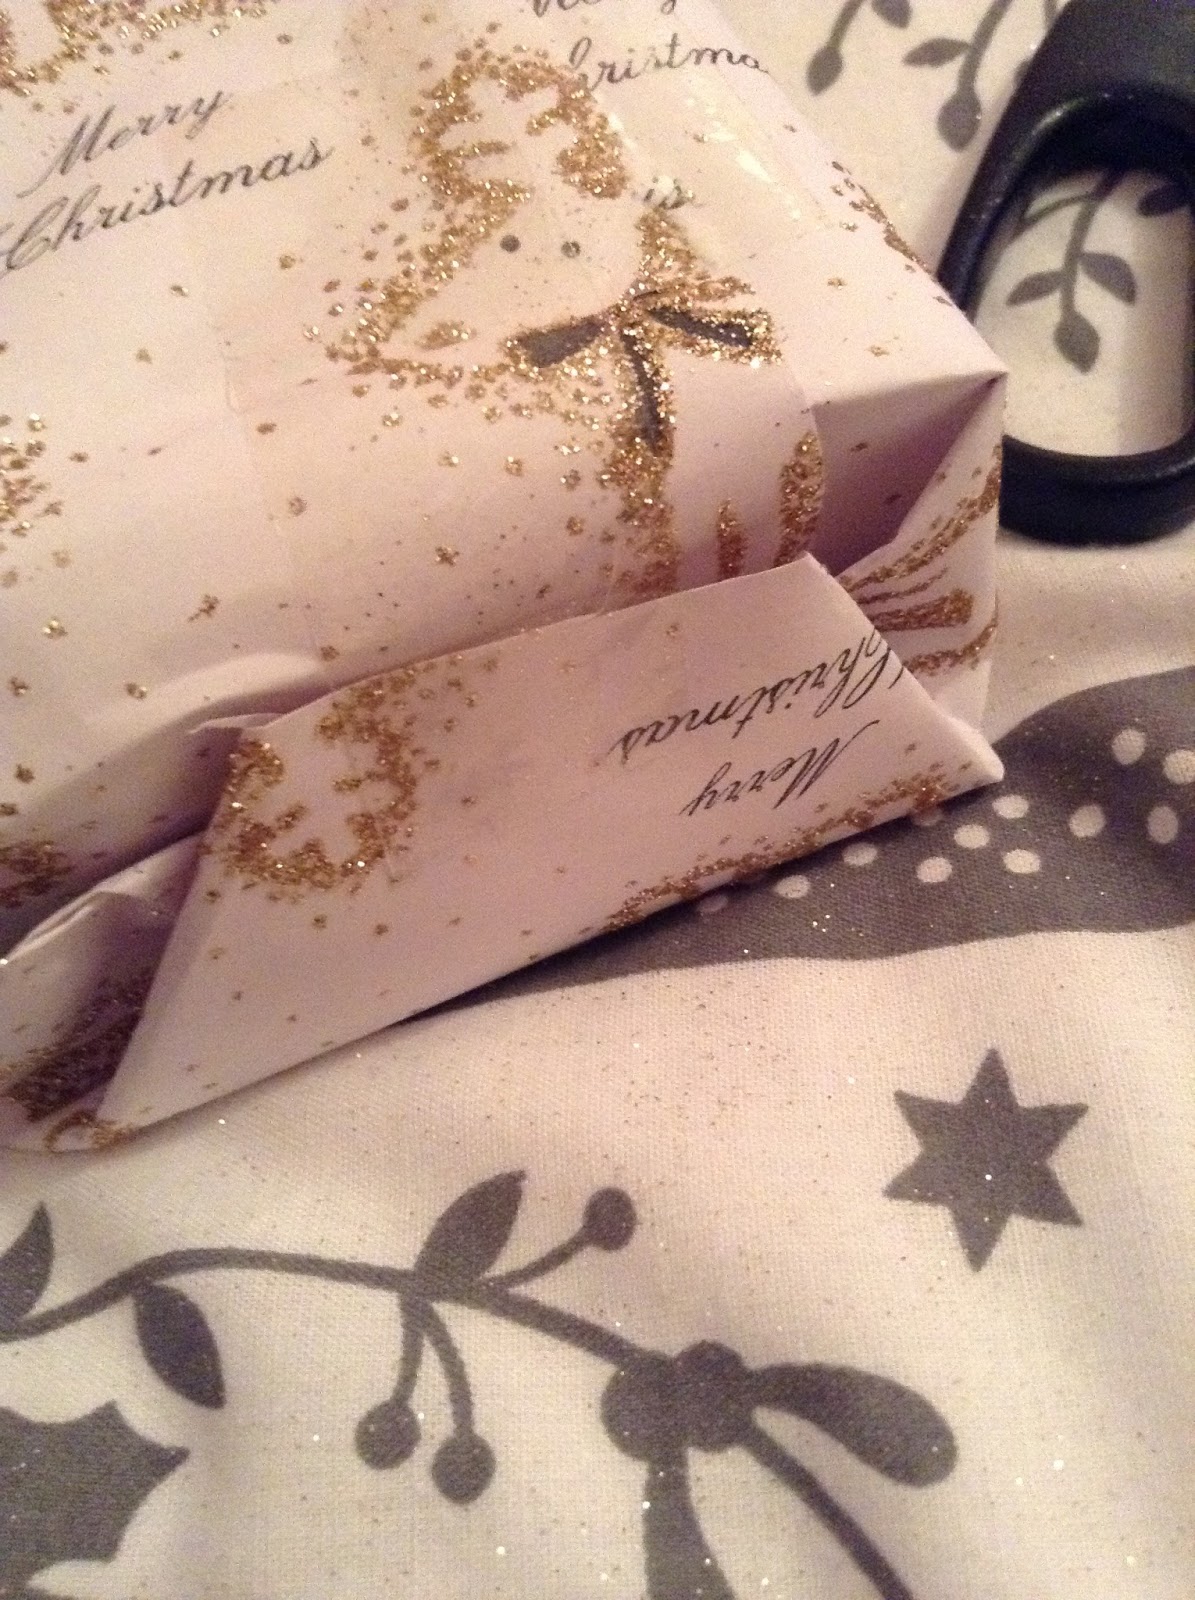
Once taped and secured in the middle section, we then move onto the edges. I fold either side inwards into small triangles to create a bigger triangle/ some weird half hexagon shape, which you guys can see here. Then folding upwards and taping it to secure it and I do exactly the same on the other side.

Taped up and ready, it's time to decorate the present! I never decorate on the taped side as you can see the tape and the folds in the paper which makes it look less appealing in my opinion. So I always turn it over and apply to ribbons and bows on the other side.

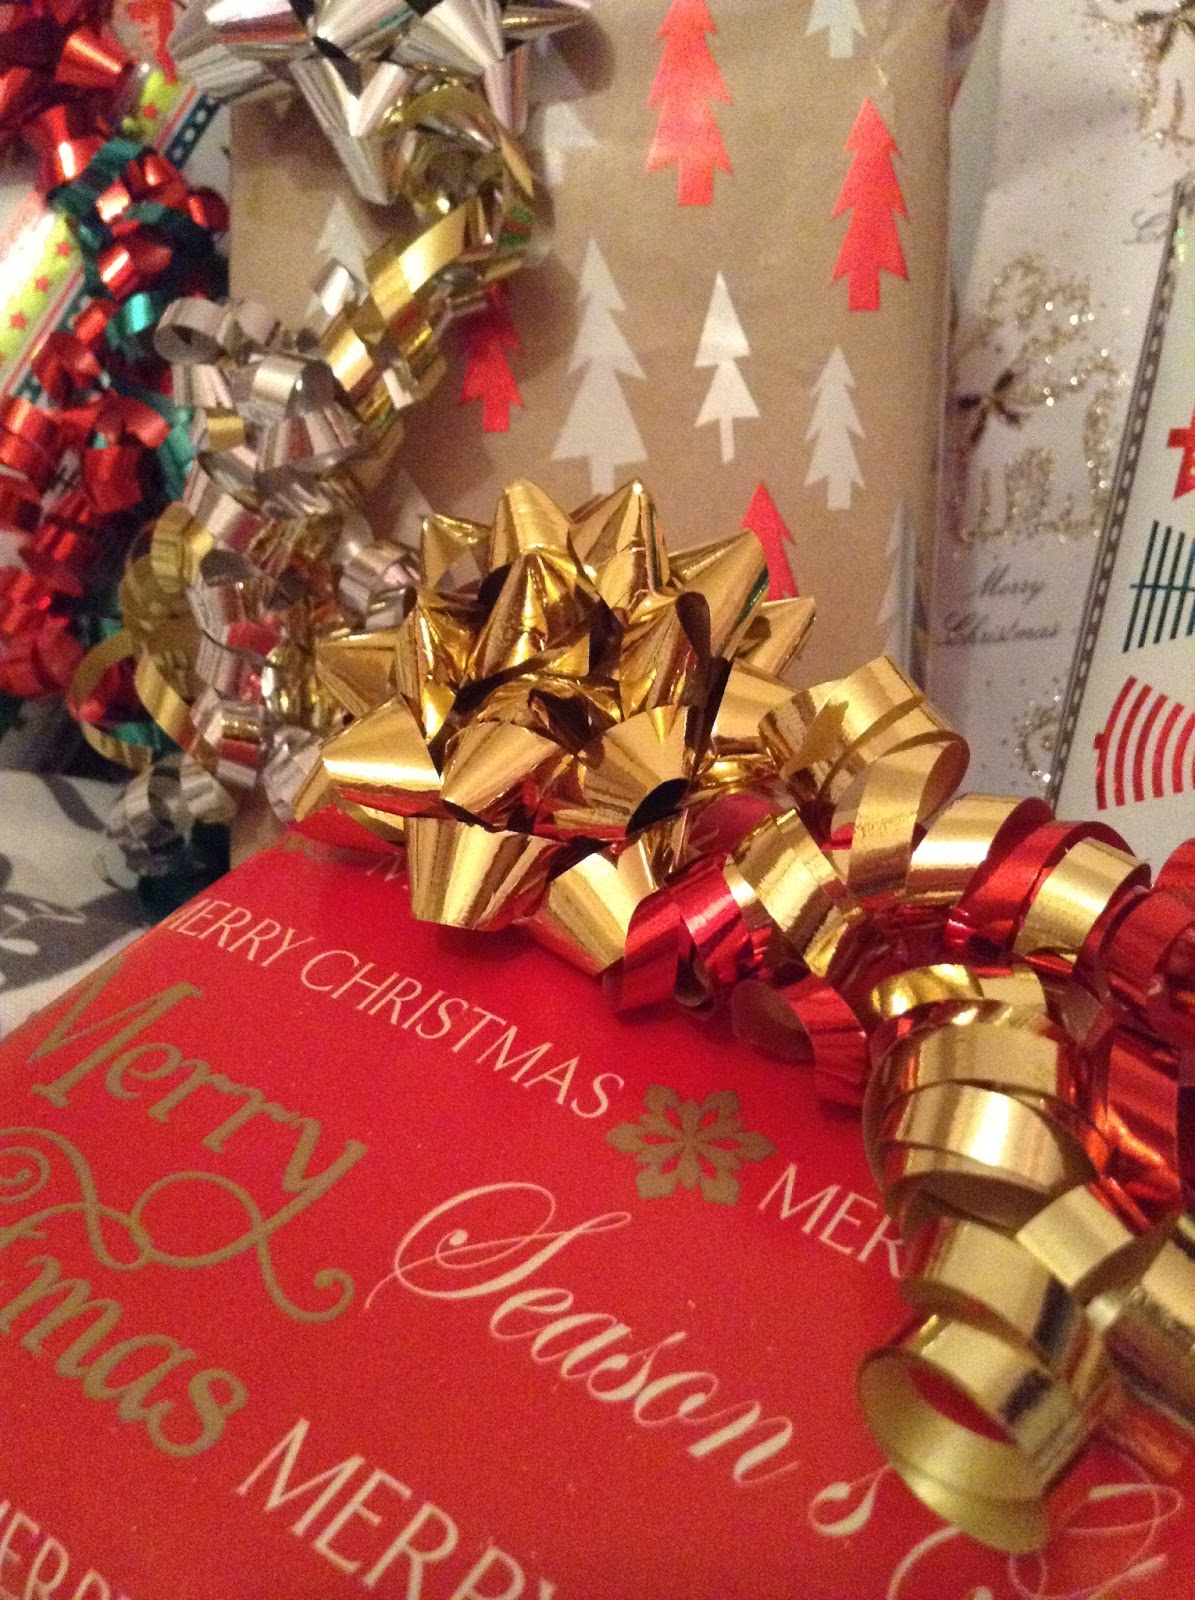
I use curling ribbon to decorate my presents in and like it's name, "curling ribbon" I curl it with a pair of scissors. It is already curly when you cut it off of the roll, but those curls are a bit bigger, looser, and bouncy whereas I like them to be smaller, tighter, and crimped.
To curl ribbon all I do is take my scissors closed together, so in one hand I can hold the scissors in one hand and pull the ribbon in the other. Taking the non shiny side of ribbon to run along the scissors edge and you end up with...

This!
Sometimes it doesn't always curl very well or properly if it's a shitty bit of ribbon so I have to curl it a couple of times if it doesn't co-operate the first time.

So I will curl one long strand and then cut it into three bits and I do the same with both colours, so here I am using gold and silver.
Then just stick it on with tape to make sure the ribbons are not going to come off and then I apply the bow.

Then vuala, there you have a Katie J present. Wrapped, decorated, and ready to go.
The bow colour depends on paper colour, the strand colour ratio to the paper colour, the person who it is for. For example, this paper is white and gold, and like white, silver is a cool tone colour. And as gold isn't the main colour within the paper, it is why I've made it the main accent colour with the bow on top. Also because my mum loves gold and it would be wrong to not have a gold bow on my mum's presents.
 |
In my opinion, square/ rectangular boxes are the easiest things to wrap because you've already got that easy edge to follow. If you're not very good at wrapping present's I'd suggest starting with items that already have defined edges like a box. I love wrapping boxes.


Once all wrapped, again just curling the ribbons with my scissors, securing them with some tape, and then adding a bow on the top.

This next gift is being wrapped in tissue paper and I got excited as I discovered my mum purchased some tissue paper the same as the wrapping paper we bought without even realising. So obviously continuing the reindeer theme, I had to use it.
So this present for my mum holds a very special place in my heart and I am extremely excited to see her face when she opens it on Christmas Day. Therefore, back story time...
In the Chester Boots in the Christmas section where all of the 3 for 2 stuff lies, they had a huge stand of Makeup Obsession. Makeup Obsession is a new brand that you can purchase on the Boots website, but I'm sure if the brand is in every Boots store. But it's in the Chester store. So basically they were selling pallets that you could fully customise yourself. You could put things like eyeshadow, highlighter, contour, bronzer, blusher etc into different sized pallets which were medium and large. Medium you have 6 spaces to fill and with a large you have 12 spaces to fill. They also had lots of different colours for the pallets, they had the gold ones like I've got for my mum, they had silver, matte black, matte bright pink all in both sizes. But the rose gold and the white are only in the large size. I decided to get a medium gold pallet for my mum because she doesn't wear loads of makeup anyway but for when she does I thought it would be nice for her to have a pallet that has been customised to her taste and colours etc. I got her 2 highlighters, a shimmery lilac shade and a golden shade. Along with 4 eyeshadows: a plain eyeshadow base, a pretty light golden shade, a slightly bronzer golden shade, and a dark purple. I decided to get the actual pallet in gold because gold is one of her favourite colours, hence the reasoning for decorating her gifts in gold. You guys can't really see it in this photo, but I actually got the pallet engraved as it was only a few extra pounds and I thought it was a nice idea to make something more personal. So it reads, "To Mum, love always, Katie xxx" I'm so excited for her to open it, just for her to know that it is personal and especially for her. When I saw them, I just thought that is something so special and there is nothing nicer than when a gift is something personal to someone in particular and it's something I'd love to receive for Christmas. I'd highly recommend it for someone who loves makeup or wears makeup etc and if you guys are interested, here's a link to purchase your own: http://www.boots.com/en/Makeup-Obsession/Empty-palettes/
Anyway, back on track. So I'm using tissue paper for this as it is quite a delicate present as there's a mirror inside and powders that if dropped could easily shatter and I don't want that, so I'm not taking the risk of wrapping it in normal paper.
So what I did for this was cut the tissue paper in half and then with this half I have, I decided to fold it over again so it was slightly more opaque and you can't see through it as much.

Then I just wrapped it exactly the same way as the actual wrapping paper.

As it is a special gift I decided to wrap and tie a little curling ribbon around it with curl edges and just stick a bow in the middle as it felt incomplete without one.


This is being put into a gorgeous box that I found in The Card Factory and it's the perfect size for this pallet to slot into nicely. I decided to just put some gold tissue paper at the bottom just so it would look a bit prettier and another layer of protection.

Then I wrapped up the box, I know technically I didn't need to as it was a pretty box already but I really wanted to wrap it up in this gorgeous paper. She's gonna have a ball unwrapping all this paper on Christmas Day.
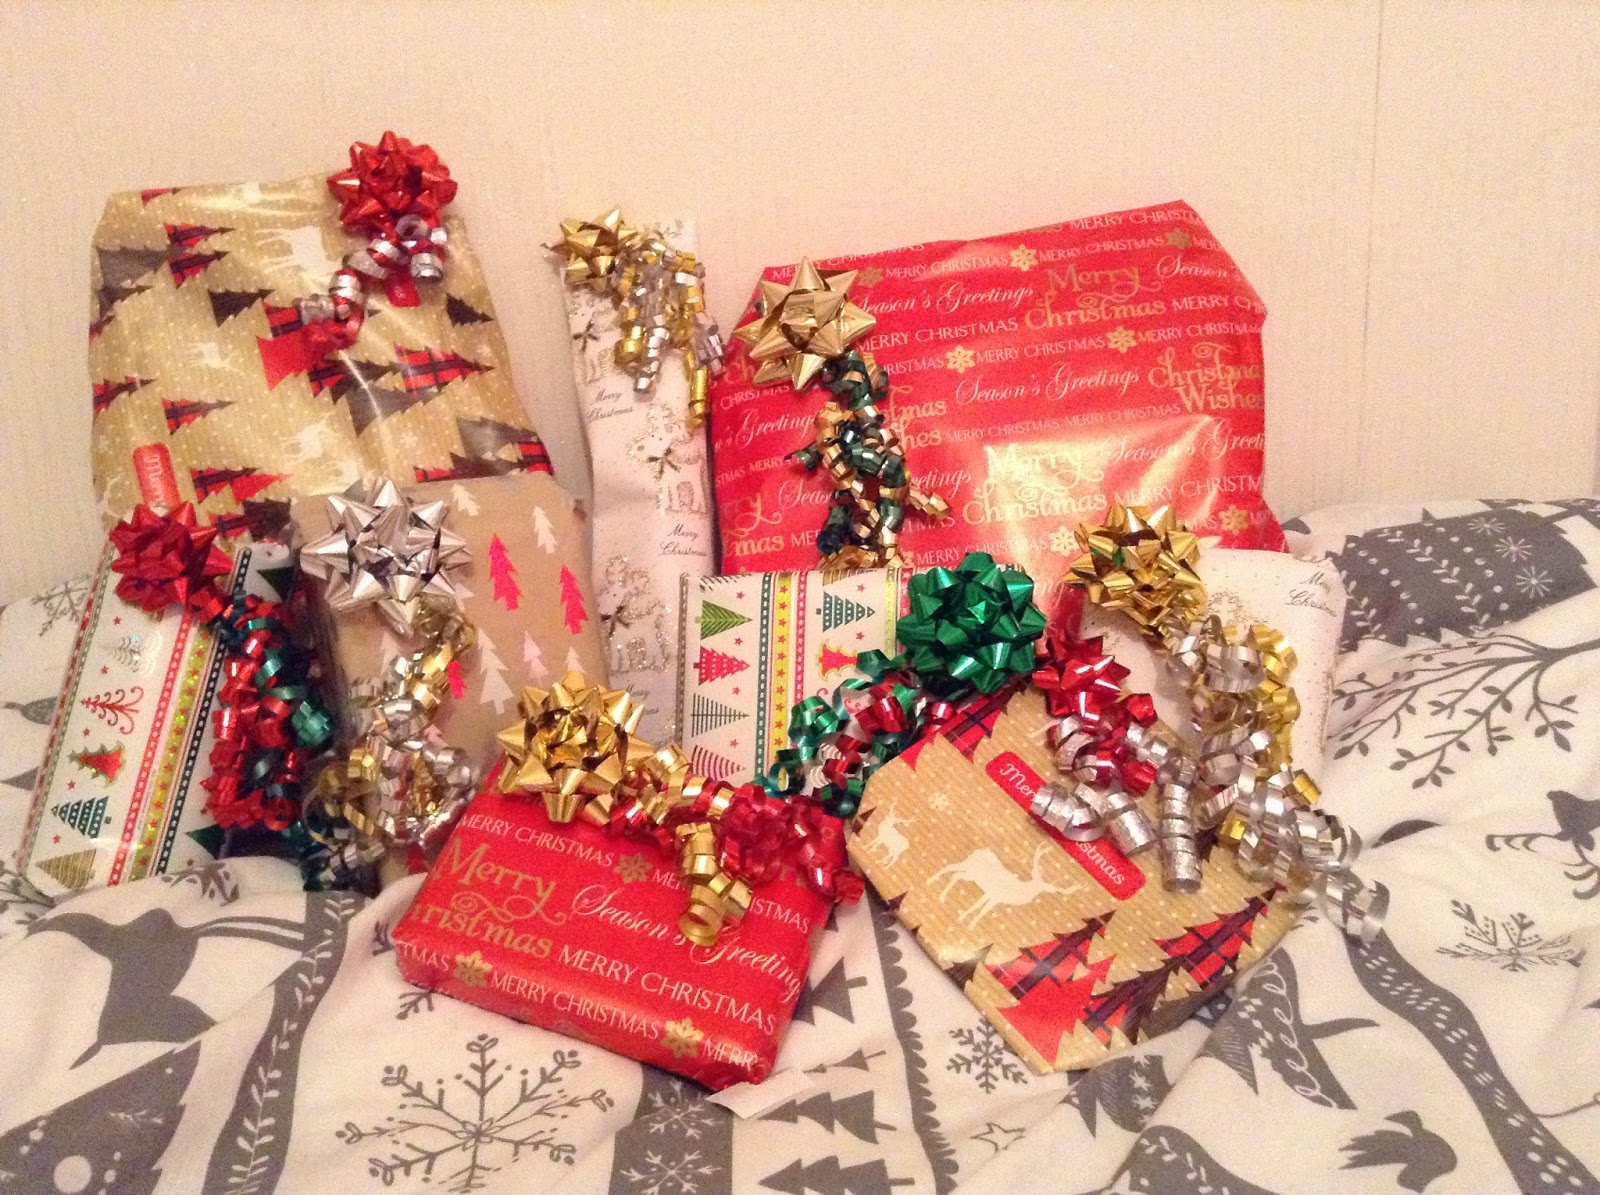
And all of my presents are wrapped, decorated, and ready for Christmas Day! Wrapping peoples Christmas gifts is one of my favourite things about Christmas because I get so excited when buying their gifts as I'd say I'm pretty good at choosing what to get people which makes shopping enjoyable and easy for me. These pictures are presents I have wrapped previously, I only wrapped my mums in this post as her's are the last ones I've wrapped this year. Enjoy these present close ups...


I hope you guys enjoyed this post and gave you some inspiration on how to wrap your presents for family and friends this year. Literally only a week to go, get wrapping if you haven't already!
Love,
Katie


No comments:
Post a Comment