
Christmas Party Makeup


Hello my lovelies, I hope you're well and had a fab Christmas and are excited for 2015! But firstly, I was meant to post this a couple days ago, but, I never got round to it because of all the wrapping and seeing people before Christmas and then I was ill on Boxing Day which was not fun. But I came up with my own Christmas party kind of look, but you could wear this for any kind of winter party, not just Christmas. I used golds and a light ish black... if that's even the correct term. But this is a proper Christmas pin up look with a red lip. So if you want to know how to get this for your Christmas parties, then please keep on reading.
Step 1:

Firstly I took Maybelline's colour tattoo in On and On Bronze. I just took the product on my finger and blended it all over the lid as a base for the golden shades we're going to use later on.
Step 2

Next I took a golden suntan glow sort of shade and applied it just over half of my lid on a flat eye shadow brush.
Step 3:

Secondly, I took another gold shade that was slightly darker and applied that on the outer part of my lid on a eye shadow brush. I also took the first gold shade on one side of the brush and the second gold shade on the other side. Then I just rub a bit of each shade into one another to blend both seamlessly together.
Step 4:

Next I took a lighter shade of black and what I mean by this are the blacks that aren't that opaque because I just wanted a slight ombre effect and didn't want the black to overrun the golds. I took the black on the very outer V of my eye, aka, the eyeliner wing line. I took it on a small dense eye shadow brush so I could get I precise big wing and connected it to the gold shades above. Then, I just gently blended it into the gold.
Step 5:

In this step I just rub off any fall out on my face with a makeup wipe. Also, I perfected the V line with a makeup wipe to make it more striking.
Step 6:


In this next step I just perfected the black and ran some of that black shade on the outer part of the lower lashline. As you can see from the images above, I connected the black from the lower lashline to the outer V.
Step 7:

Finally I took an even lighter gold highlighting shade and applied it into my inner corners, but shaped it to fit the lines, as you can see above. I then just merged the black and light gold together to give another ombre effect.
Step 8:


Then I just applied my base and eyebrows, along with my mascara. I also highlighted my nose, cheeks, and cupids bow.
Step 9:
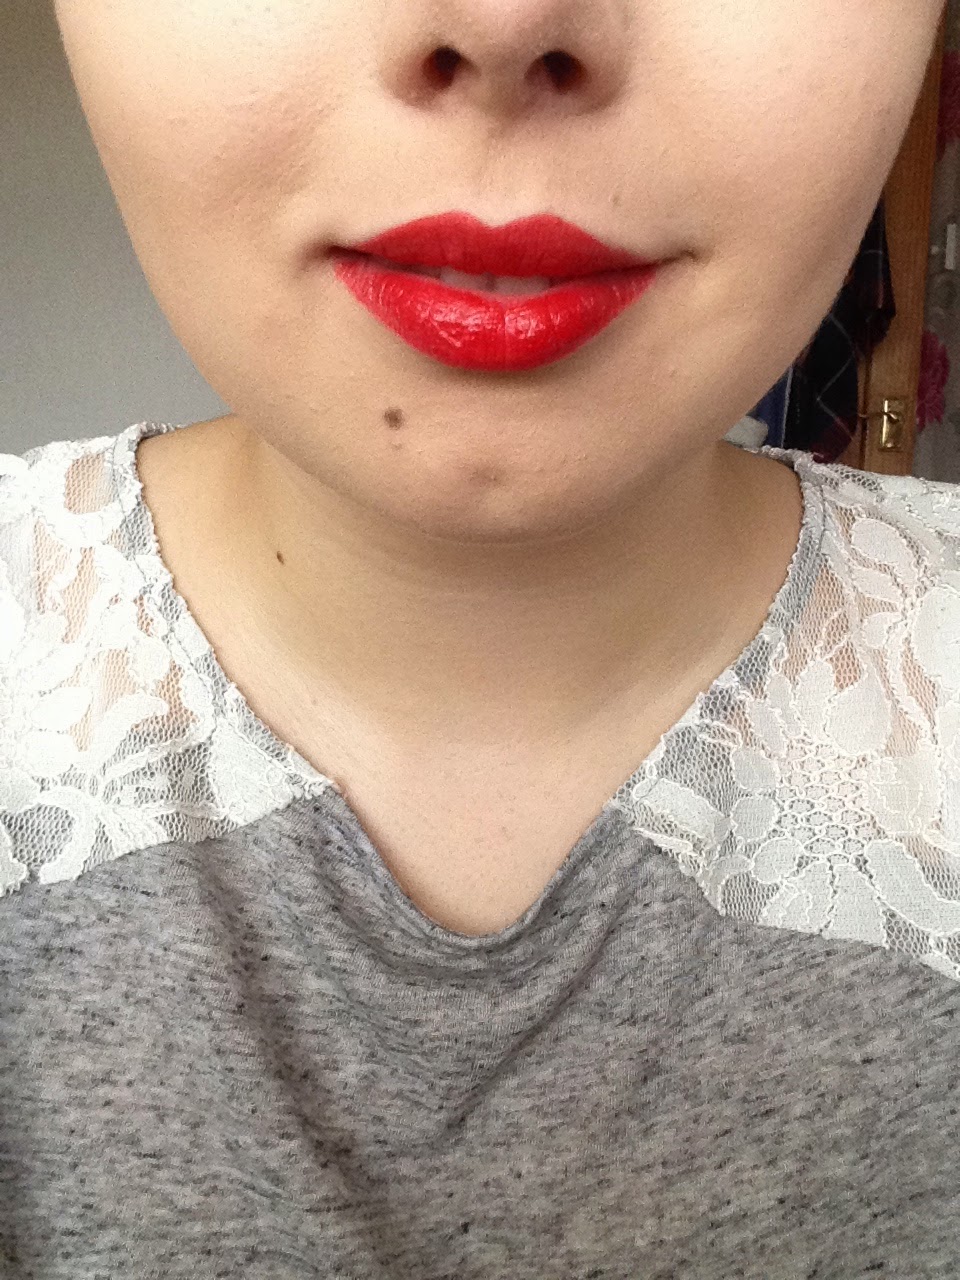
Finally, I just applied my red lipstick.
Step 10:

Finished!
Everyone that is the finished look! I hope you like it as I really enjoyed creating it. I apologise again that it was very late and was meant to be posted before Christmas, but, you could still wear this out in winter.
Anyway, thank you for reading everyone, and I will talk to you soon!
Bye for now,
Katie
xoxoxoxox
No comments:
Post a Comment