Hello everyone and I am so happy to finally be posting a favourites from the summer as I have not posted any again in such a long time, but I am hoping for September I have more than I do for August.
 |
| Main cast poster for 13 The Musical |
 |
| All of my incredible cast and I for 13 The Musical |
But my one favourite for August is of course 13 The Musical that I took part in last month. Taking part in YOBOS is one of my favourite things to do each year ever since joining last year because you get to meet incredible new people, make amazing friendships, and put a musical on in a week when most professional performers can't even achieve that. It was really hard work but I loved every minute of it. The story in a nutshell is there is this guy called Evan who has to move to Indiana from New York as his parents split up and his main goal is to get all the cool kids to come to his bar mitzvah . But along the way you see love triangles, rumours, lies, and just basically everything you want to do at 13 years old but you can't. Evan calls all the popular kids his friends when in reality his true friends were Patrice and Archie. But the main characters were Evan, Patrice, Archie, Lucy, Brett, Kendra, Malcolm, Eddie, Simon, Richie, Charlotte, Cassie, and Molly. I played Charlotte who was part of the popular clique and she was quite gullible and girly and she was best friends with Cassie, Molly, Lucy and Kendra. But Charlotte, Cassie, and Molly only followed who was popular between Lucy and Kendra. I really loved playing her part and her singing part for me was brilliant. I got to riff and do so many high notes and my voice improved so much this year thanks to voice classes at college, and I am just so happy. Missing the shows so much and cannot wait until we do Grease next year!!!
Gemstone Makeup Tutorial
Okay everyone, here is my interpretation of a gemstone makeup tutorial. I call this a gemstone makeup tutorial because of the shimmering eyeshadow shades and the contrasting colours of the copper shade on the main bit of the lid and then the taupe/pink ish shade on the outer v. But I absolutely adore this look, I think it is perfect for the day time or night time in autumn and I just love looking like a gemstone. So everyone if you want to know how to get this gemstone inspired makeup look, please keep on reading!
Step 1
Apply your base as you normally would, I used my NYC Smooth Skin Perfecting Primer to prime my face to just take away any redness and smooth out my skin. But I really like this primer; it's very good for the price you pay.
Next I applied my foundation which is Rimmel London's Lasting Finish 25 Hour in 010 Light Porcelain and I blended this in with my new best friend, my beauty blender! Honestly, everyone, if your fingers aren't working for you or brushes anymore, try a beauty blender as they are amazing! They make your foundation look more even and some how makes it thinner and you look a whole lot more natural and it's made me fall in love with my foundation again as it started to look caked on which was awful, but now thanks the beauty blender it really looks like natural skin.
Thirdly, I applied my concealer which is Rimmel's Wake Me Up in the shade Ivory. I just applied this under my eyes, down my nose, under my nose and around any other areas I felt I need to conceal. I blended all of this in with the pointed end of my beauty blender.
I applied my blush and powder. For my powder I used Rimmel London's Stay Matte powder in the shade 001 Transparent using my massive kabuki brush and then going back over my cheeks with a powder pad as I like more coverage from my powder. Then I applied my blush from Natural Collection in the shade Peach Melba on the apples of my cheeks and going up to the hairline.
Finally I filled in my eyebrows using Rimmel London's Professional Eyebrow Pencil in the shade 001 Dark Brown. I basically just follow the natural shape of my eyebrows and try and make them even, how I fill in my eyebrows changes a lot so, I don't have a complete eyebrow routine, but at the moment, the image above is how I am filling them in.
Step 2
For this look I am using the MUA Undress Me Too pallet as all of you know I am all about drugstore products!
Firstly I took the shade Wink on a fluffy blending brush and began to work on the outter half of the lid. (image one)
Secondly, I took Wink again on the fluffy brush and built up the colour intensity and brought it further onto the lid and above the natural crease line. (image two)
Thirdly I built up the colour intensity and brought the line above completely over the crease. I carried on adding more colour and shaping until I was happy with how it looked. (image three)
Step 3
Then I took the shade Fiery on a flat eyeshadow brush and firstly packed the colour onto my lid. I redid this step about two or three times just to make sure I was happy with the colour intensity. (image one)
Once I was happy with the colour I started slowly merging the two together with my fluffy blending brush and taking another flat eyeshadow brush with both colours, Wink and Fiery on the same side to mix both colours together.
You must merge both colours together because it will all look flawless and you want the colours to blend onto another instead of there being harsh lines.
Step 4

Next I took a mix of both Wink and Fiery and smudged it along the bottom lash line and connected it to the top. (left image)
Then I just tidied up around the edges, as you all know by now, I am not a clean eyeshadow blender as I love that winged point in my eyeshadow looks. I just took an angled eyeshadow brush for this with some of my Stay Matte face powder on the tidy up the edges.
Step 5
Here is what it should look like once you're finished on the eyelids. As you can see, I also just took some of the Fiery copper shade for my highlight on my inner corners as I felt a really light shade wouldn't have mixed well with the colours I was using. But at this point it is where you can go back and add in anymore shades or do anymore tidy ups before the mascara is applied etc.
Step 6
Next I applied my mascara and I used my Volumising Mascara from Bodycare first and then I went over the top with Maybelline's The Falsies Flared. Once again, you can apply eyeliner if you wish guys but, I am not an expert at eyeliner and usually whenever I do eyeliner with eyeshadow looks it goes wrong and then I can't fix it, so I try and avoid it most of the time.
Step 7
Final step everyone is to apply some lip colour; because the eyes are quite intense I went for a neutral pink shade. It is Strike a Rose from the Maybelline Baby Lips Electro range and I absolutely love every single one of those shades as I have them all. They're such good quality and easy to apply, especially good for school and if you're a beginner with lip colours!
Step 8
Now you're finished and you can go out looking like a gemstone! I just really love this look, I tried it out randomly and fell in love with it, I wear it quite a lot and it's so stunning for the autumn months that are coming. But I hope you enjoyed this make up look and also my August favourites! I am sorry that I am not better at them. But you can follow me on twitter at: omfgitskatiej and also instagram at: katiej0hnson.
Thank you so much for reading and I will talk to you all again very soon!
Loads of love and hugs,
Katie
xoxoxoxo


 Step 2: Paint 2 coats of your black nail polish, I used Ted Bakers black (which is amazing btw!) and wait for it to dry. At this point if you have any black bits around the edges, just dip your cotton bud in some nail varnish remover and gently go around the edges to clean up.
 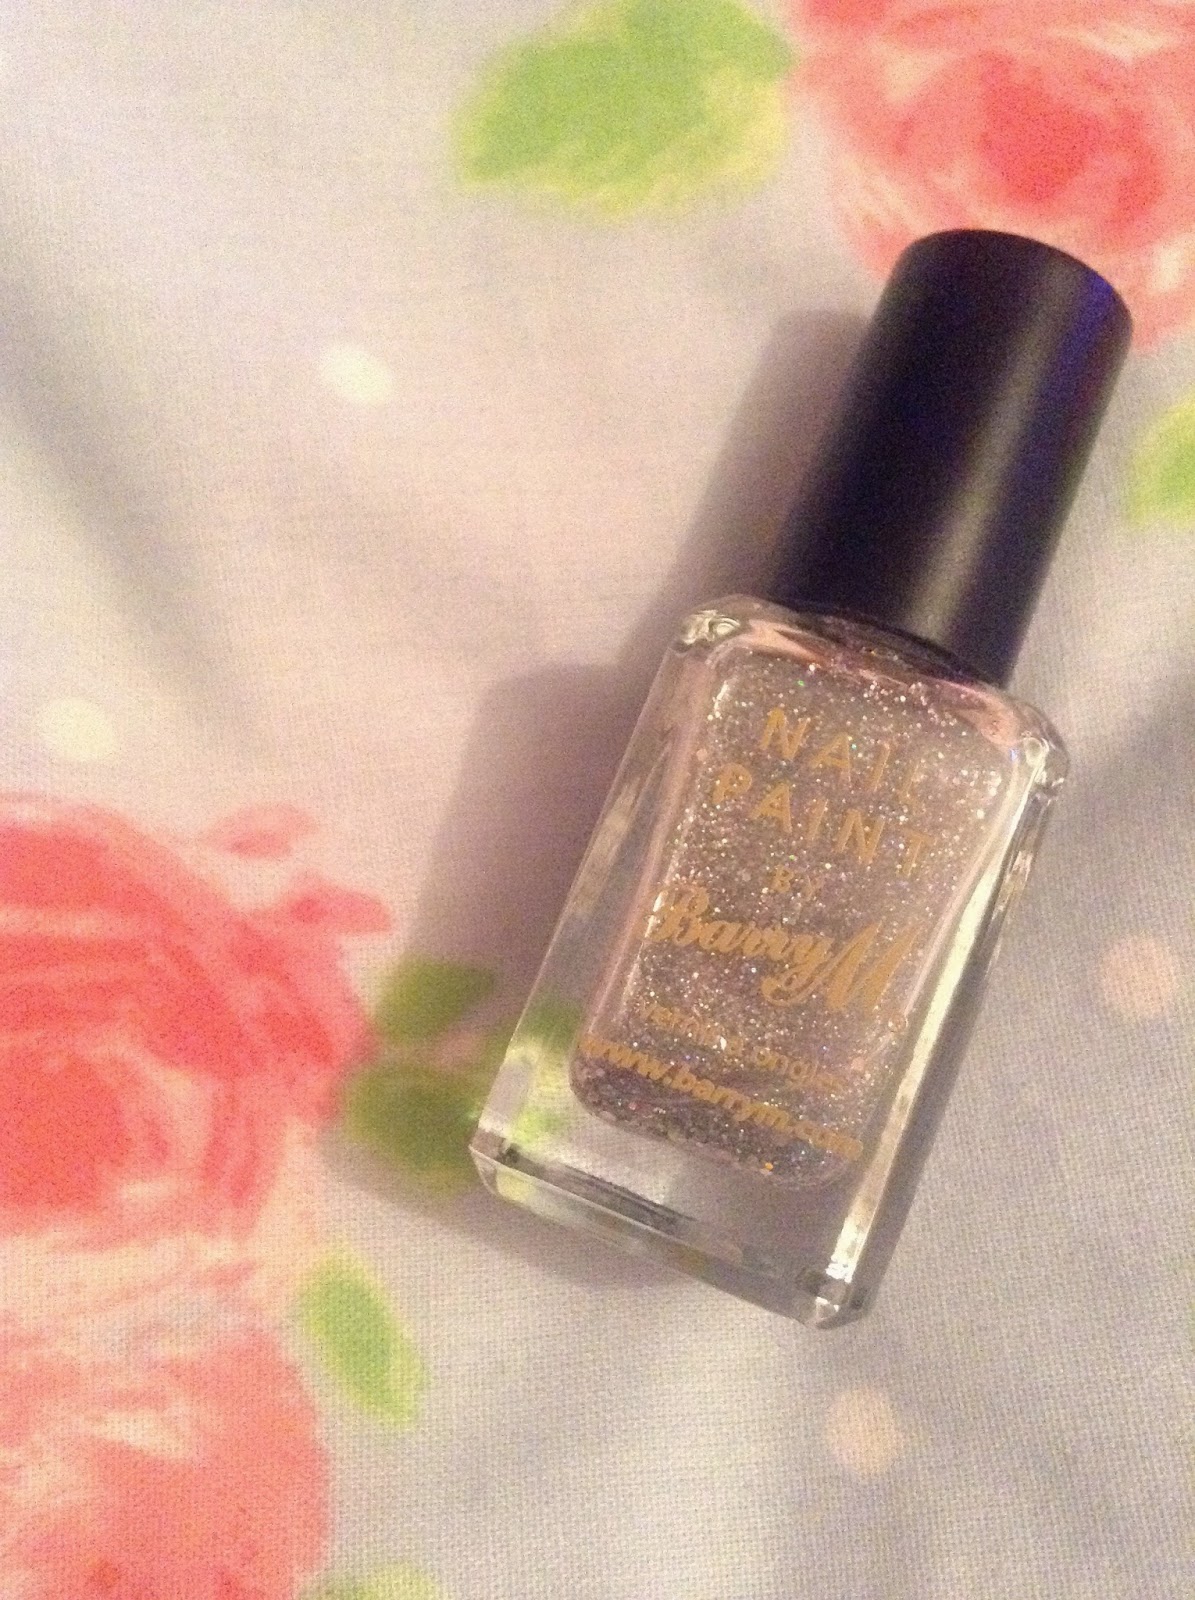 Step 3: Apply your chosen thin glitter polish over the top of the black polish, I used BarryM's Diamond Glitter (which is a really pretty thin glitter with some round chunky bits in), and wait for it to dry.


