

These are my current nails everyone! They are pretty simple, just black and a thin glitter coat over the top, and anyone can do this look which is the best part!
What you'll do need for this nail look:
- Base coat
- Black nail varnish
- A thin glitter top coat
- Top coat
- Some cotton buds (for clean up round the edges)
- Nail varnish remover (for clean up round the edges.
I do not have any picture steps for this look as it's pretty easy to follow by the steps I'm about to tell you now.
Step 1: Paint all your nails with your base coat and wait for it to dry.
 Step 2: Paint 2 coats of your black nail polish, I used Ted Bakers black (which is amazing btw!) and wait for it to dry. At this point if you have any black bits around the edges, just dip your cotton bud in some nail varnish remover and gently go around the edges to clean up.
Tip: Don't forget to go over the top of your nail (not near your cuticles, the other end), slightly underneath the nail, as on the ends is where they first start to chip.
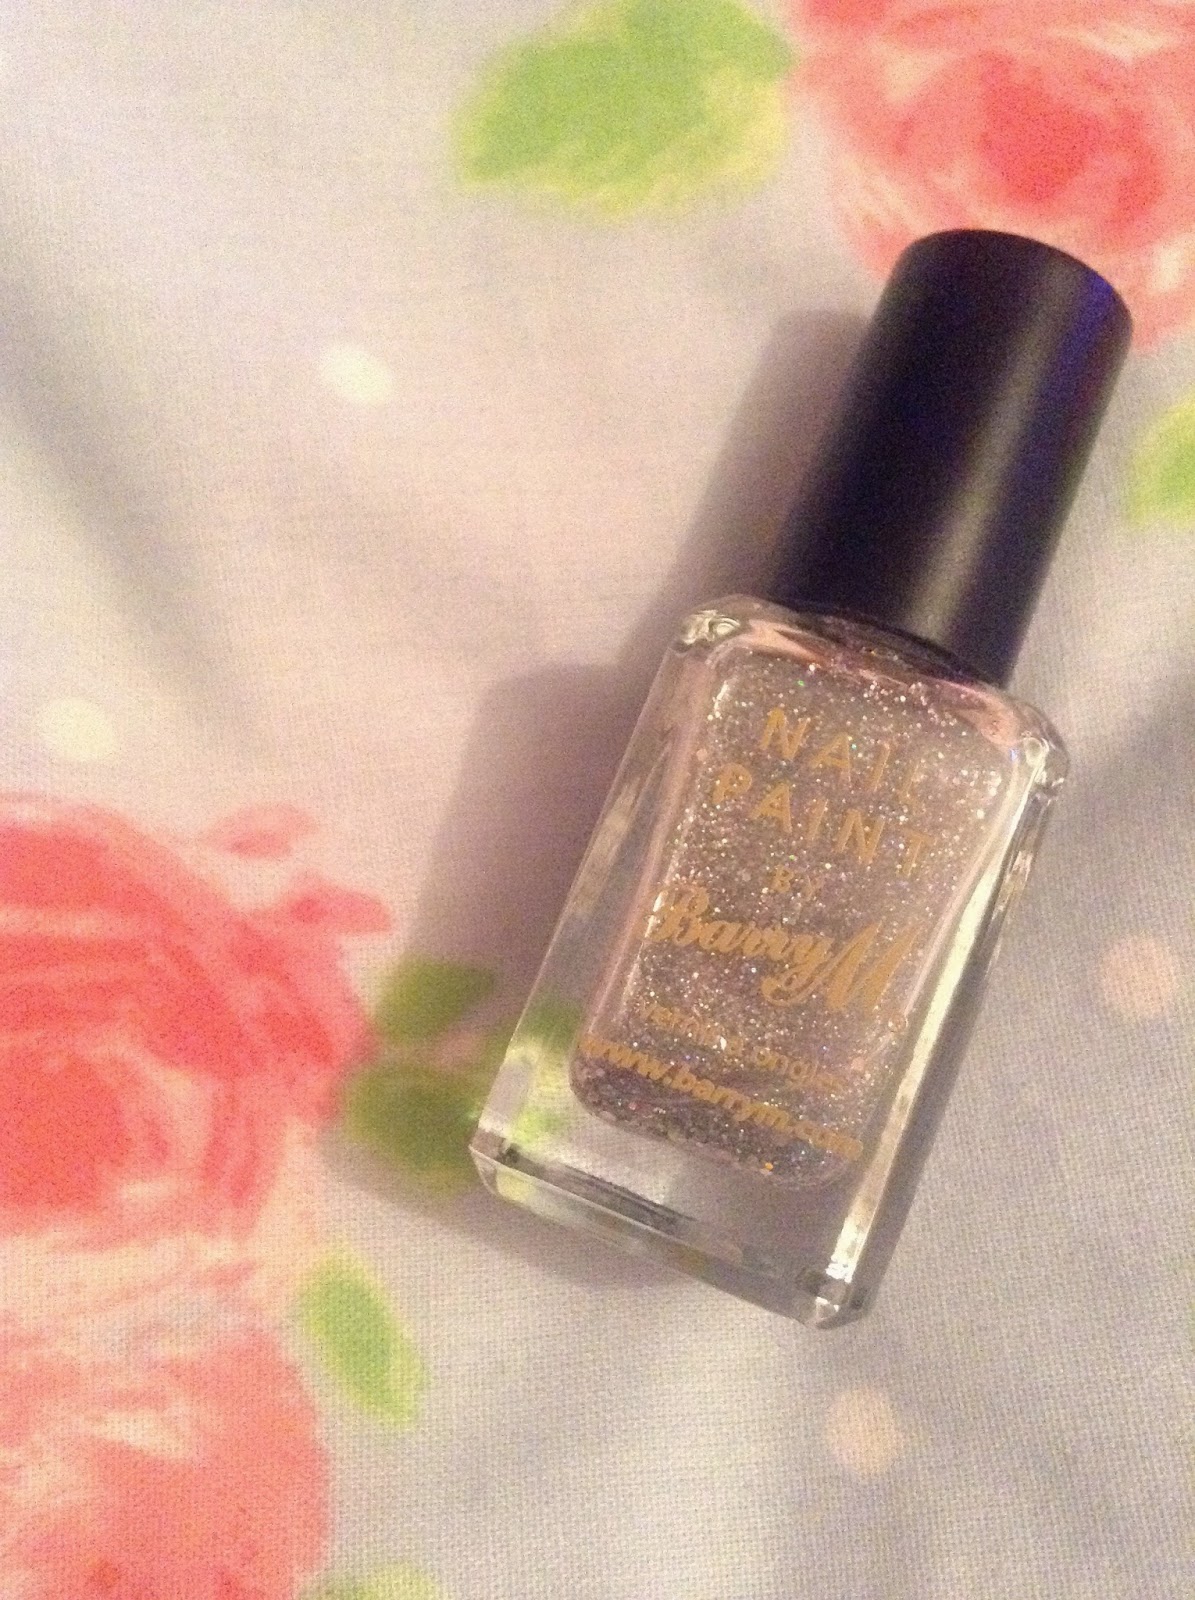 Step 3: Apply your chosen thin glitter polish over the top of the black polish, I used BarryM's Diamond Glitter (which is a really pretty thin glitter with some round chunky bits in), and wait for it to dry.
Tip: To get chunky bits of glitter on your nail, just give your nail polish a bit of shake or swirl your brush around in the nail varnish; when you find some on the brush, take of a little bit of excess, and just press it on to your nail and smooth out the other bits of glitter with it and you have a pretty chunk on your nail.
Step 4: Finally, apply your chosen top coat and wait for it to dry. I applied my Nails Inc Caviar top coat as it is amazing. It drys your nails in 45 seconds and gives them a gorgeous shine.
Everyone that is the finished nail look! I hope you liked it and found it helpful! Let me know what kind of nail tutorials you wanna see as I can interpret anything you guys suggest to me (hopefully). If you recreate this look tag me on Instagram: katiej0hnson or send me a tweet to: @omfgitskatiej
Thank you all so much for reading, I will be posting a makeup tutorial and a pallet review in the next few days! So stay tuned for that.
Loads of love and hugs
Katie
xoxoxo
No comments:
Post a Comment