
So I decided to do a tutorial on how to achieve these firework nails. This design is something I do all the time in autumn/winter because they are so easy to do. You can wear them for Bonfire Night, New Years Eve, or even just a party when you want lots of sparkle on your beautiful nails. If you want to know how to achieve these firework nails for your firework night celebration, then please keep on reading.
What you need...
1. Base Coat

2, Black Nail Varnish

3. Metallic Nail Varnish

4. Iridescent Glitter or Glitter Nail Varnish

5. Top Coat

6. Nail Stripper (credit to whoever's image this is)

Step 1:

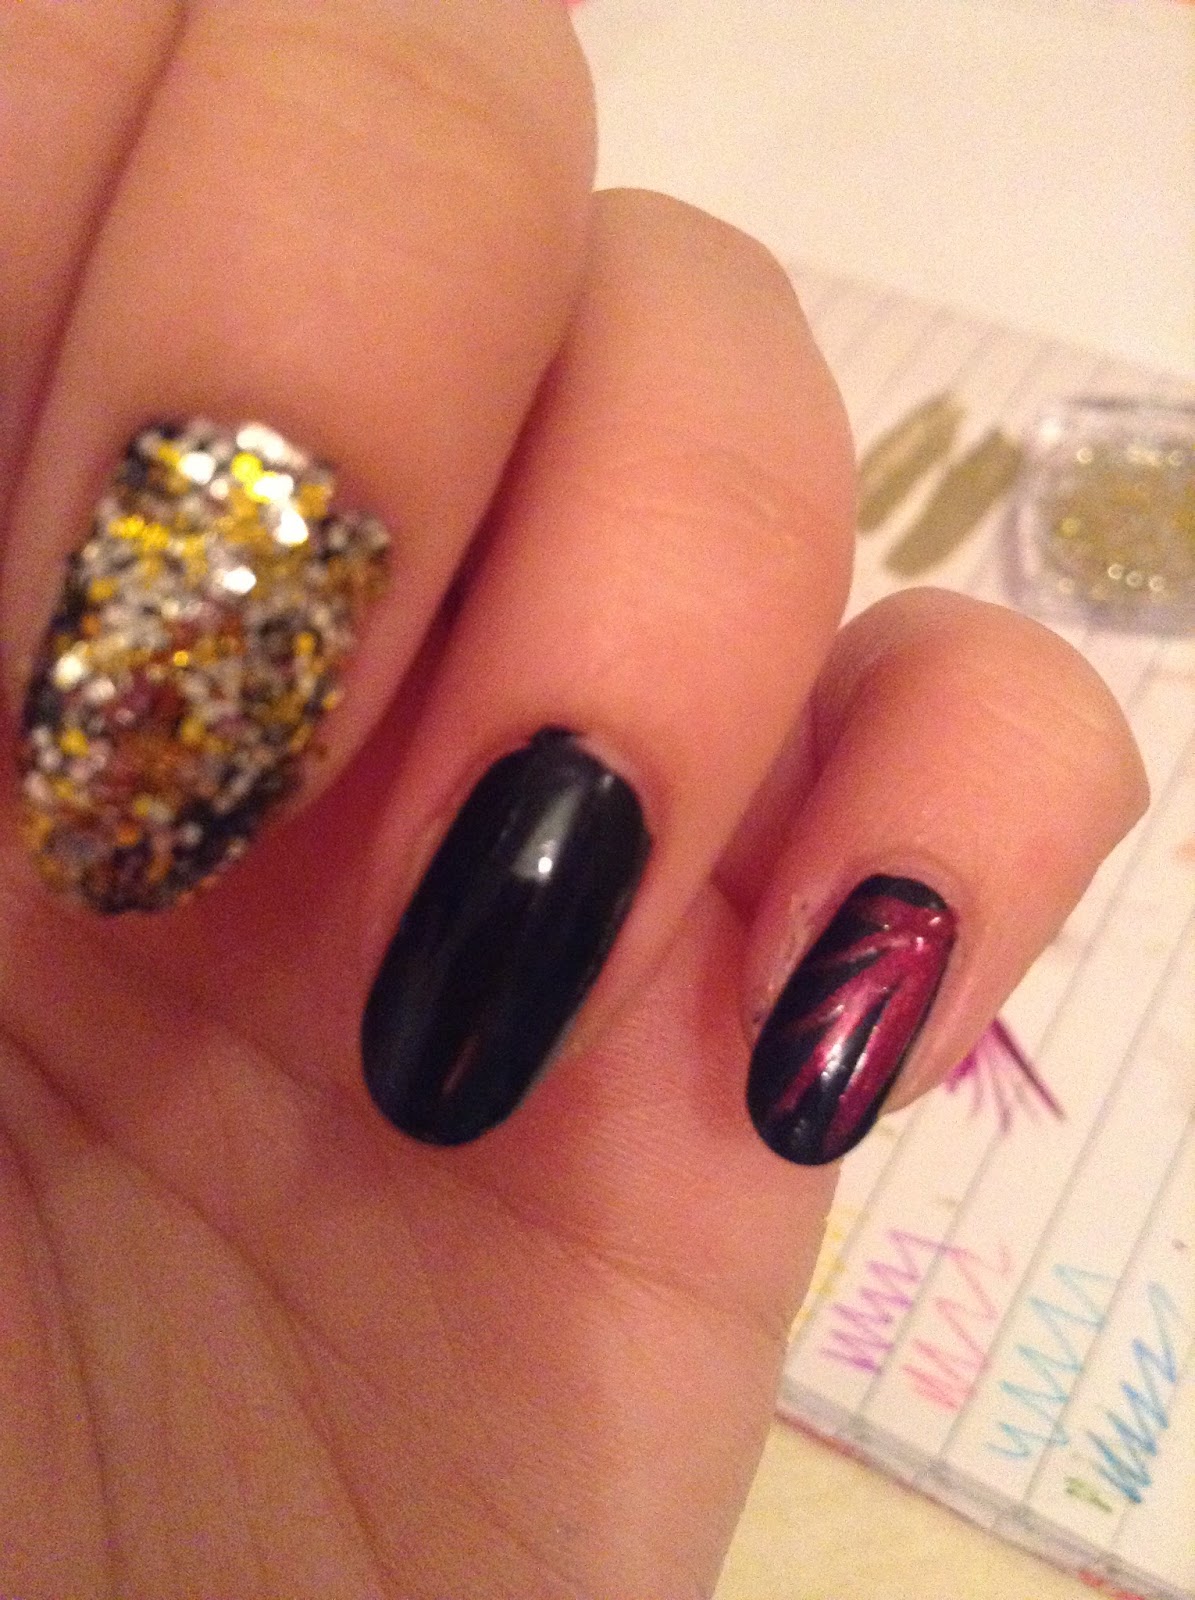
Apply base coat to your natural nails and then paint black on your thumb and middle finger.
Step 2:

If you don't have any iridescent glitter and only have nail varnish glitter; once your nails are dry and opaque go and apply your glitter nail varnish over the top.
But, if you do have iridescent glitter like myself; if you only have one shade of whatever glitter colour you're using, just tip it on top of your wet nail and let it settle and gently press some of the glitter into place after it has been on your nail for about a minute.
If you're using two glitter shades mix both shades together in a small pot like I have done above with the silver and gold. Then tip it onto your wet nail and let it settle, then after a minute gently press the glitter onto your nail.
Tip: When tipping the glitter onto your nail, do not worry if you miss small bits because you can take some clear nail varnish or your topcoat and place some where you want more glitter and then tip some on and press it into place.

After the glitter has been applied your nails should look something like this.
Step 3:

Step 4:

Now, take your chosen firework colour on your nail striper, mine is metallic purple. All you do is start from the corner of your nail, mine is the left corner. I always start of with three stripes: one down the side of the nail, one in the middle and then one across the top.
You do this by just going straight across your nail with your nail striper. I then see where else I can add another stripe if there's room, depending on how big your nail bed is.
Step 5:
Next we're repeating the same steps as before, but this time I'm taking my metallic pink shade instead and taking it from the right corner this time.
So, taking our nail striper, I'm starting with three stripes again: one down the side, one in the middle, and then one across the top. Then I am again seeing where I can fit in some more stripes. I added in two more: one between the top one and the middle, and one between the middle and the bottom one.


Step 6:
Finally, we need to do the ring finger. For mine, I decided to create a firework that had a mixture of both the metallic pink and purple. So I started with my purple and did the same as before, but I'm just taking it from a different corner.
Starting with my three stripes: one up the side of the nail, one in the middle, and across the bottom bit. I then took my metallic pink shade and placed two stripes in-between the purple stripes (which you can see above)
Step 7:
Then do the same on your other nail. For my right hand I did the same idea but I switched up the placing a little. On the pointer finger I used pink instead of purple, then on my pinky I used purple instead of pink, and finally on my ring finger I used three pink stripes and then two purple to create the firework.
FINISHED!!
Then apply your topcoat, mine is Nails Inc caviar topcoat which drys in 45 seconds and then this is the finished firework nails everyone! I really hope you like them and has given you an idea for Bonfire Night. But what if you want a different look?
Original Colour Pallet: Gold, Silver, Pink, and Purple
Option One: Gold, Silver, and Burgundy Red.
Option Two: Gold and Silver.
Option Three: Rainbow
Now everyone, obviously you can use whatever colours you want. You could do rainbow if you really wanted to as fireworks are in all colours. But you could have your iridescent/ nail varnish glitter on all of your nails and just have the firework of your colour on your ring finger. Or, you could have just the iridescent/ nail varnish glitter on your ring finger and then fireworks on all of your other nails.
But I hope you all have a great Bonfire Night, whatever you've got planned and have fun re-creating these firework nails. My next post will be an update on what is going on in my life and my October favourites, so stayed tuned for those!
Bye for now guys,
Katie
xoxoxo
No comments:
Post a Comment