


Hello my lovelies! I hope you're all well and this is my second post in the seasonal series I am doing! (woohoo!) I've been a little bad recently on makeup tutorials, so I thought it was time I posted one! This one is one I've really been looking forward to because dark nights and starry skies are one of my favourite things. I love space and I've always wanted a telescope to look at the stars more clearly but I have never had one. But one day, I am definitely going to buy one! But this look is super easy to do and anyone can do this; you can wear this to a party if not everyday which is one of the great things about it. So, if you want to know how shine just like a starry night sky, then please keep on reading.
(PS, I have not cropped any of these pictures because I couldn't be bothered)
Step 1:

Apply a black glittery eyeshadow all over the lid on a flat eyeshadow brush. Also apply it into the crease and just above. Make sure you round it on the outer corners.
Remember do not apply any foundation base etc as we're using black eyeshadow and it is most likely to get fall out on your skin.
Step 2:

Next, taking the same brush and black glitter shade; run the colour all the way along the lower lashline and connect it to the lid shade (where the outer corner is).
Step 3:


Now, taking a dark navy blue on a blending brush; apply it on the lid where the black finishes and blend it all over the lid.
But because we want a rounded outer corner, we're blending out the edge in a 'U' shape (as you can see above). I also decided to blend it slightly on my under eye where the shades meet (just under the outer corner on the lower lashline)
Step 4:

Step 5:


Now this step is optional, but because my black glittery eyeshadow wasn't glittery enough for my liking of a 'starry' sky. I added some iridescent glitter to my eyelids.
So what I did first was take my black eyeshadow glitter shade and packed that on with my ring finger for more glitter pay off. But, it wasn't enough. So all I did was wet my eyeshadow brush slightly and picked up the glitter on the brush and gently placed it onto my lids. Now, because I have no glitter adhesive they are just sat on my eyelid which means they will eventually fall off. But I applied these earlier this afternoon and it is now 18:15/6:15pm and they're still on. If you have glitter glue then I would suggest using that but if you don't, just do what I did.
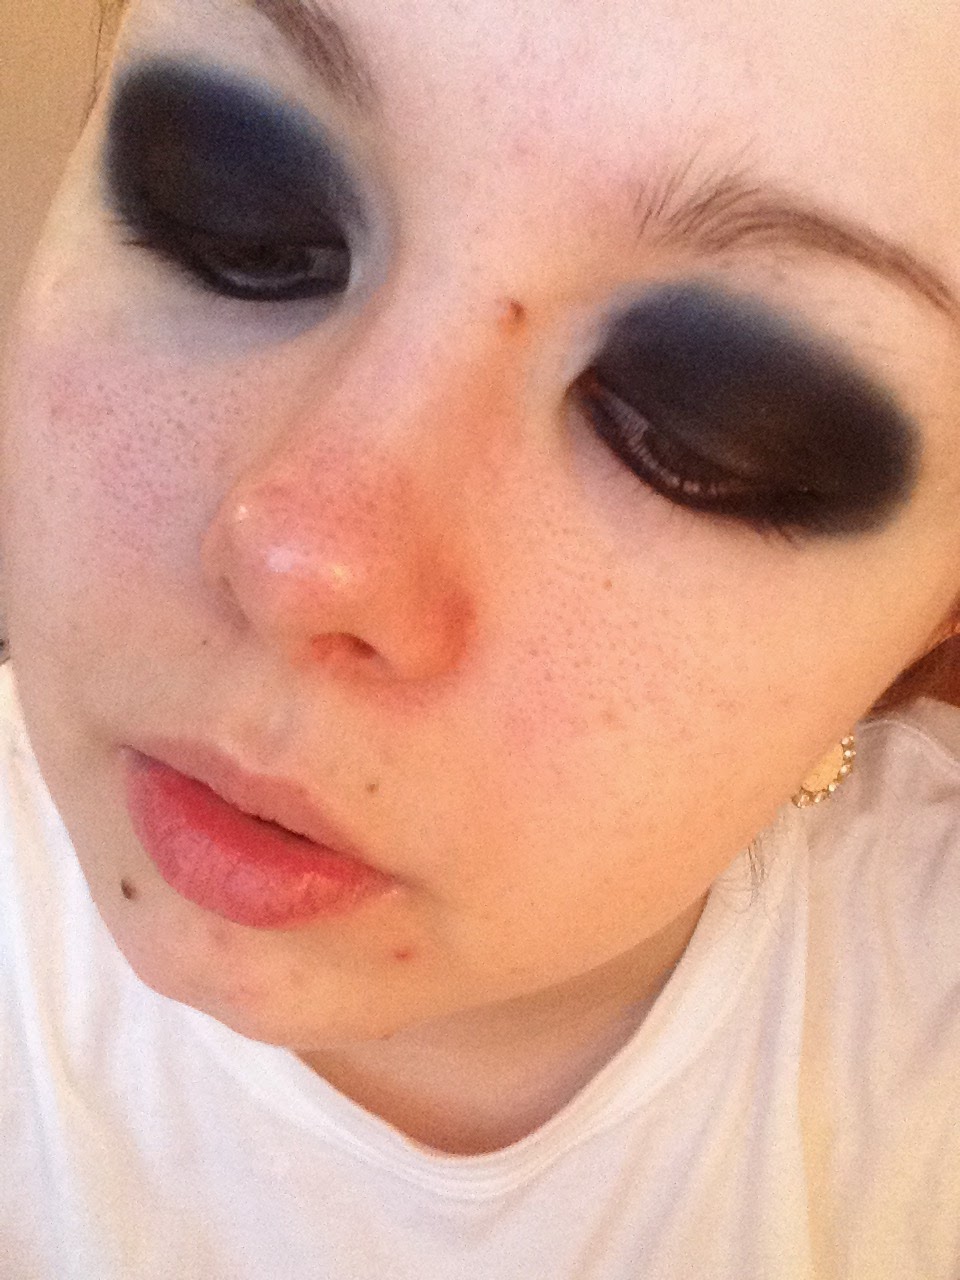
Step 6:


Once you've applied enough glitter to your liking this is what you should end up with.
Step 7:

Then apply a natural coloured lipgloss/ lipstick as we want all the attraction on the eyes.
Step 8:
Apply your mascara and I also applied a kohl eyeliner pencil in the waterline because I didn't want any shade but black coming through.
Then just apply your base as normal and you're finished!
I really love this look because it really brings out my eyes and makes them look bluer; they appear much lighter with dark colours on the eyes. Plus I think the navy blend is lovely and this would look great to wear on a night out.
Thank you very much for reading everyone and I hope you enjoyed! I also would like to ask you, to leave me comments below on anything you would like me to post as I'd like to take your suggestions.
Bye for now and I'll talk to you soon!
Katie
xoxoxoxo
No comments:
Post a Comment