
Hello my lovelies, I hope you are all well and have had a good start to February. This post was meant to come in January but I've been extremely busy with The Directing Festival which I mentioned in my last Chit Chat and Update; my directees performance is this Monday and I am really proud of them because the show is everything I imagined it would be and more. It's looking pretty amazing and I can't wait to watch them finally perform it all on Monday.
But, as of right now, here is a makeup look inspired by the gorgeous Princess Rapunzel from Tangled. I based this one on Rapunzel's hair and dress instead of her actual makeup in the film because it was pretty natural as it is. So, if you want to see this Rapunzel makeup tutorial, then please keep on reading.
Step 1:

Starting off with a fresh face with no makeup on. Take an eyeliner pencil or kohl lead stick and run that all the way along your water line as all Disney Princesses have those perfect noticeable eyes.
Then take a light gold eyeshadow on an angled brush and draw it along your eyeliner line and flick it out to the side because we're going to use it again later.
Step 2:

Next step is firstly to take some tape and make it a little less sticky and then stick it along your eyeliner line. I decided to use tape to get a more precise line, but if you don't want to you don't have to. This was my first time using tape and it feels so weird being close to such a sensitive area (eyes).
Next I took a mix of two medium purples from a Body Collection pallet (which you can purchase in Body Care for those of you who live in the UK). I took both purples on a fluffy brush but it was slightly more dense (not as fluffed out - had more of a specific blend to it). But I just took it across the whole top bit of the lid and through the crease and kept blending, adding colour, and shaping.
Step 3:
I went in with a lighter purple to fill the space between the gold and the purple above for it all to blend together.
I then went back in with more gold along the eyeliner line to make it stand out amongst all of the purple.
Step 4:

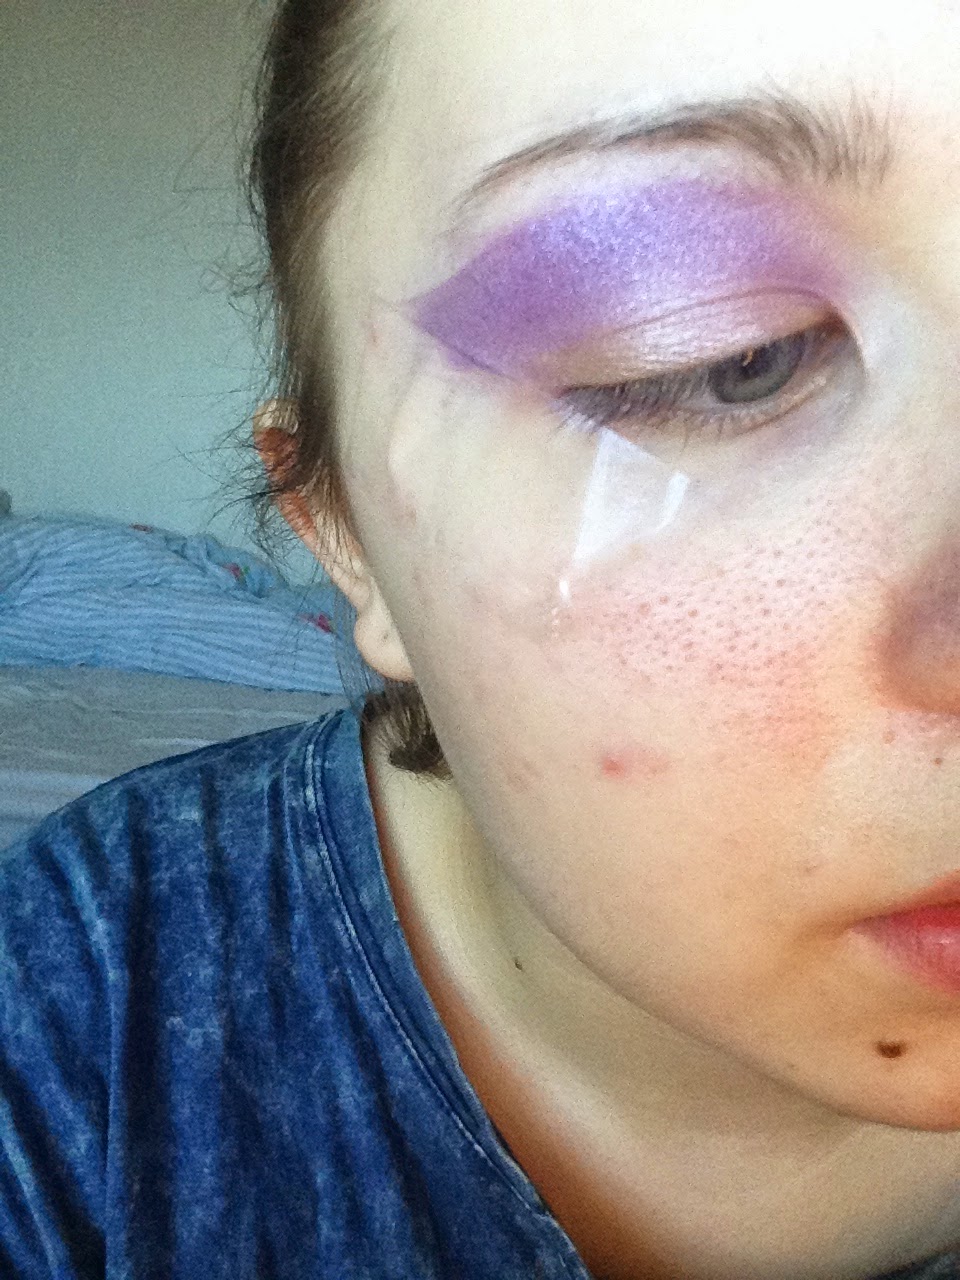
Then when the tape is removed we can see how crisp and perfect that line is along the wing. (this is also a good helpful trick for eyeliner if you're not that good at it)
I then just went round the edge with some translucent powder to make sure the lines we're exactly how I wanted them.
Step 5:


The light purple I used to connect the two colours, I also used it as my inner corner highlight.
Now, we should currently have something like this on both eyes.
Step 6:

Now, here comes the fun bit. It is my favourite and you should all know by now what it is going to be...
yep, you guessed it...
GLITTER EYELINER!
So firstly take the gold shade we used earlier on the angled brush and make a big prominent wing. It doesn't have to be perfect - it's just a guide for us to place the glitter. (As you can see, mine is no where near amazing).
Step 7:

Then take a gold iridescent glitter on a wet brush (doesn't matter what kind - the glitter just needs something to stick to).
Apply some glitter eyeliner, glitter glue, or eyelash glue to your eyeliner line and then stick on the glitter. Use as much or as little as your wish; keep applying until you're happy and gently press the glitter on with either your finger or another brush just making sure it is stuck down.
Step 8:


Then apply some mascara; along with your face base and you're done.
That is the finished look everyone, I hope you enjoyed my Rapunzel inspired makeup look. I really like it and really enjoyed creating it. The next Disney Princess look I am creating is non-other than Princess Merida from Brave. I am really looking forward to this one as I am basing it on her dress again which is emerald green - it's going to be a gorgeous look for brown and green eyes.
But for now, thank you everyone for reading if you did and my next post is going to be a Valentines Day makeup tutorial as that day is looming on the horizon. Plus, to make it more exciting - I am doing two Valentines looks over the next few days. So keep an eye out for those.
Bye for now my lovelies,
Katie
xoxoxoxo
No comments:
Post a Comment