Step 1
 |
| Maybelline Dream Fresh BB Cream & Collection Lasting Perfection Concealer |
I apply my favourite base which is Maybelline's Dream Fresh BB Cream in Light (but unfortunately today I ran out so I could only use my concealer)
Step 2
Then I apply my concealer under my eyes, down my nose, on the sides of my nose, my chin and on my cheeks. Also on any areas that I want to cover.
 |
| Rimmel London - Stay Matte Powder & Famous powder - Sue Moxley |
Then finally over the top of that I apply my powders. Usually I just use my Stay Matte powder when I have my BB Cream as a base and I usually mix that in with a bit of the Famous powder for more coverage. But today I used both with more of the Famous powder covered on my cheeks for more coverage.
 |
| Ps Love Eye Brow Pencil in brown |

Step 4
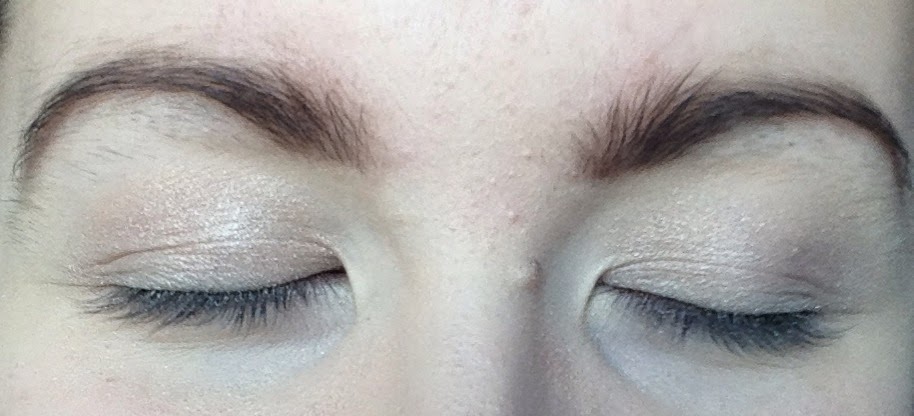
Next I fill in my eyebrows and do some tidying up around the edges to make them look on point and I usually have them like this (rounded) as I find that works best for my face shape.

Step 5
I take this champagne colour from my Colour Couture pallet and take it all over the lid and up above the crease.
 |
| Colour Couture - Dramatic Eyes: Champagne colour. |
Step 6
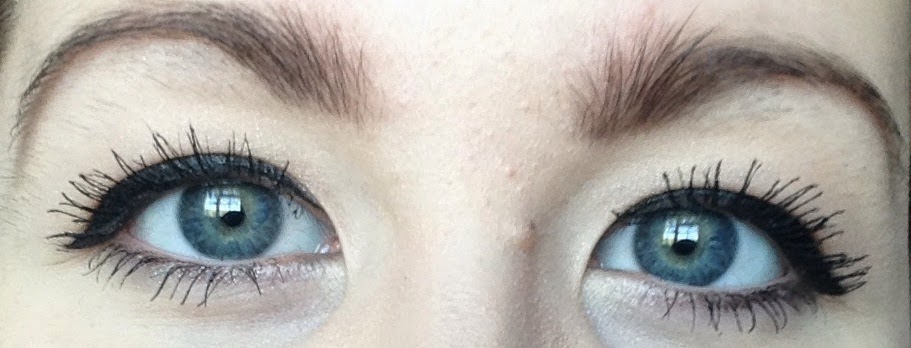
Next I apply my eyeliner from Collection and I do a slight wing out but not a high wing as you can see from the images to the left.
 |
| Collection - Extreme 24 Hour Felt Tip Liner - Black |

Every time I apply eyeliner it looks slightly different each time and I am slowly getting better at apply each time I use it! (I used to get so frustrated when I couldn't do it but trust me guys, If you find eyeliner a struggle you're not alone but you will get better with practise!)
 |
| Collection - Volumising 10x Maybelline - Big Eyes |
Step 7
Next I apply my current mascaras which are Maybelline's Big Eyes and apply this first to get some length and thin amount of volume to separate my lashes. Also because this mascara is better to use the small brush for my bottom lashes. Then Collection's Volumising Mascara and the brush is absolutely huge and it can go a little clumpy sometimes but it does what it says on the bottle which is give your lashes volume and makes them extremely black. If it does go clumpy slightly I use my eyeliner tip to just separate the lashes.

 |
| Collection Lipstick - Mango Tango |

Step 9
Then I fill in all of my lips with the colour with the actual lipstick and the brush to get a more precise application.
I also just applied some lipgloss in a similar colour to the lipstick to give it more of a glossy look instead of matte which I do with all my lipsticks.
Step 10
I AM FINISHED!
I shall talk to you again very soon!
Lots of love and hugs
- Katie
xoxoxoxo


you look more beautiful than everrrr.. please give us an applying lipstick tutorial ta x
ReplyDeleteAww thank you so much! and of course I can! xox
Delete- Katie