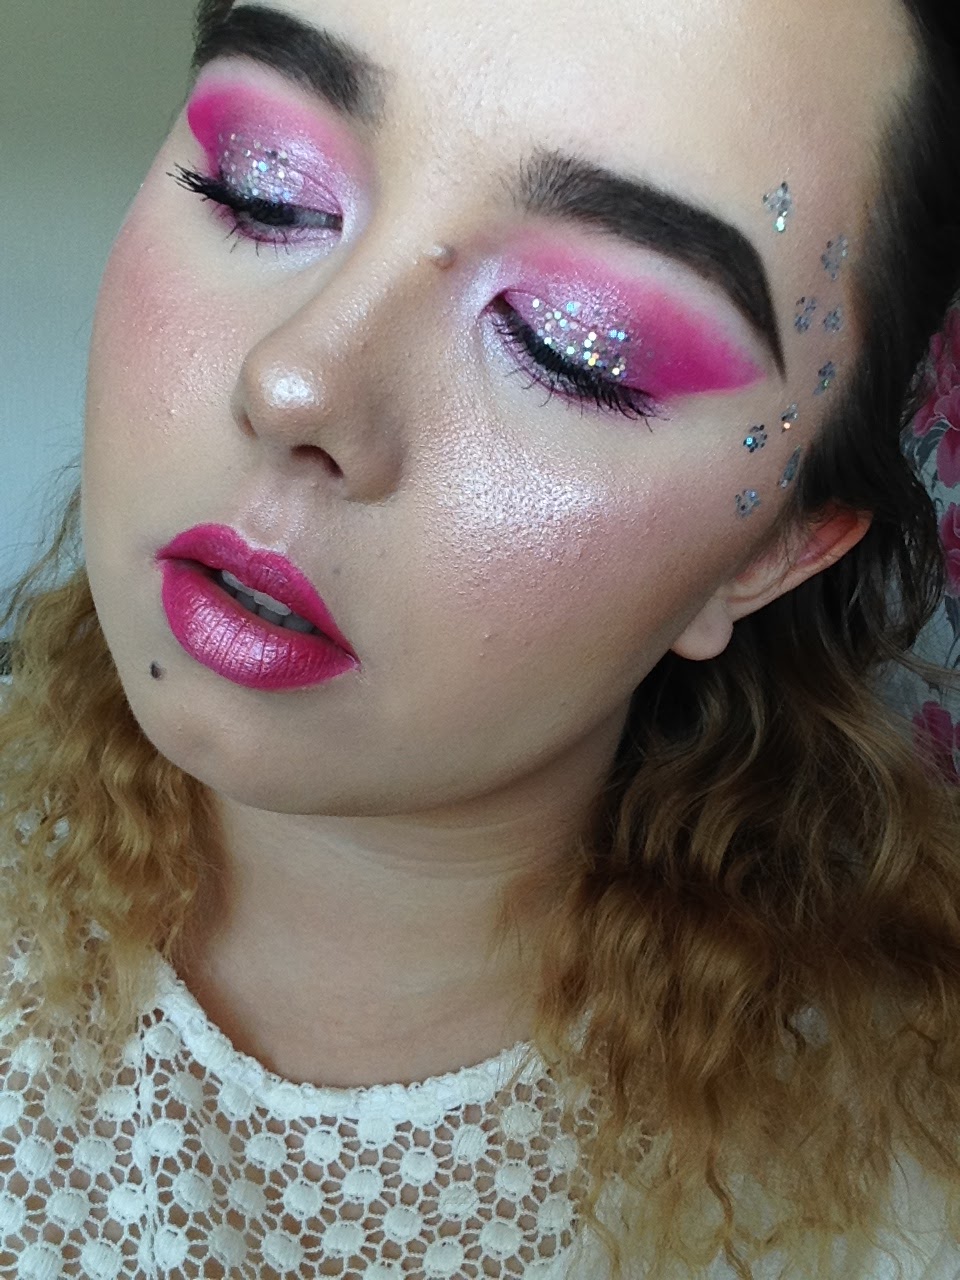
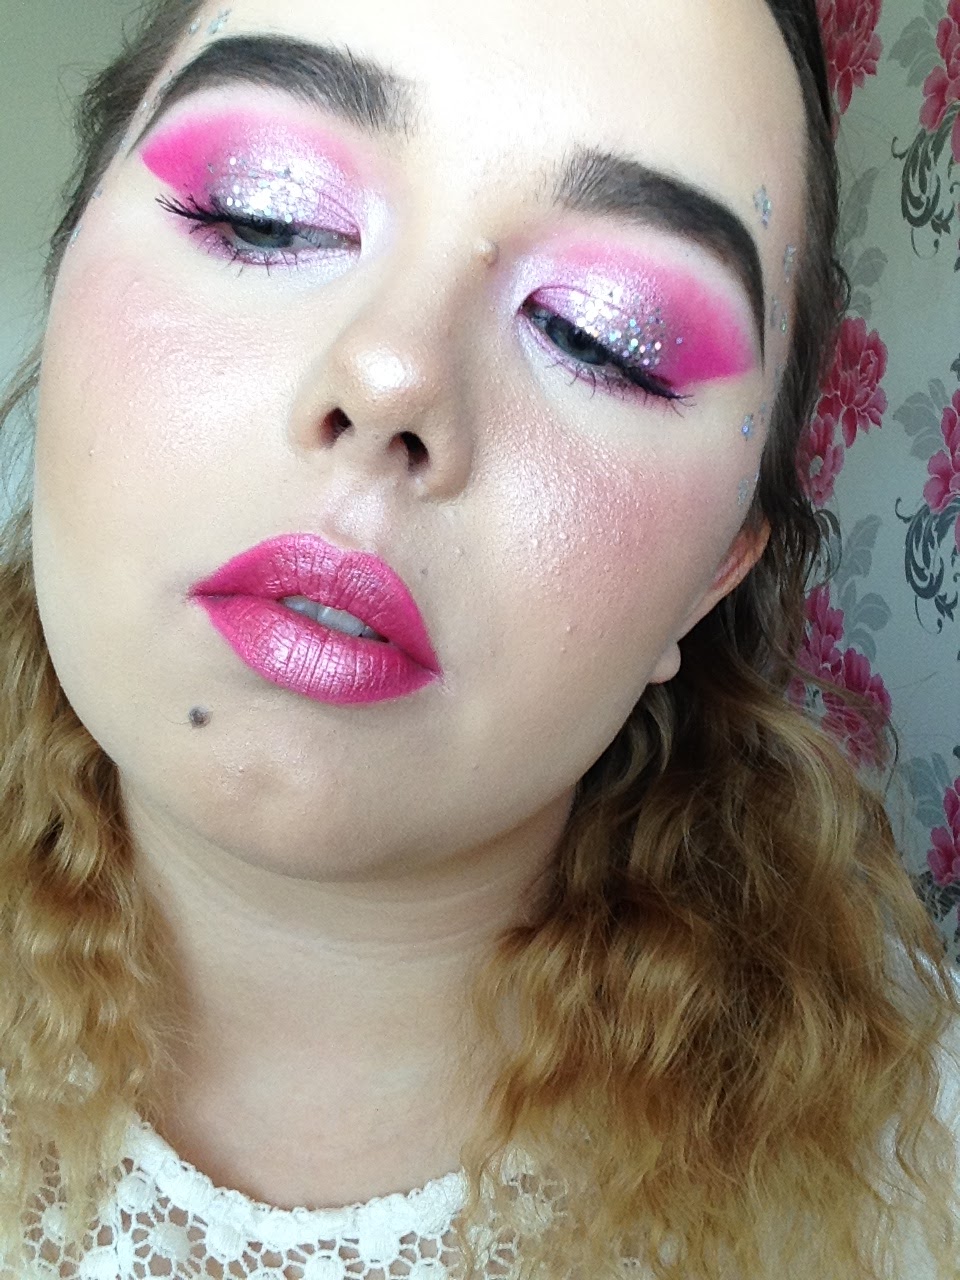
Hello my lovelies, I hope you're all well and Happy 1st of September! Which mean's that if you're at least under 20 years of age you will be going back to school, college, or university etc. I hope you've all had a lovely summer holiday, but the time has rolled around again where it's only a few days until the new year of education starts.
Now I know going back to school isn't always the most enjoyable thing, trust me I know. But, what better way to start the school year with some new stationary and a new every day makeup routine.
So today guys I am gonna be showing you how to get this really simple and easy look for school, work, every day, or if you just want to throw on some makeup to feel more put together. I actually used to wear this makeup look a lot during college and it took me back (feeling nostalgic over here). But it makes your skin look really natural and healthy which is exactly what you want for every day.
Also everything in this makeup look you can go and buy from Boots or Superdrug


Now I don't know about you guys, but when I gotta wake up super early my tired eyes along with my under eye bags aren't exactly looking their finest, therefore I took my Simple Kind To Eyes Revitalising Eye Roll-On Gel and I just apply that under my eyes and on my lids slightly and then pat it into my skin using my finger. This stuff is so good, it's really cooling on your eyes, makes your eyes feel refresh, it makes them look brighter, more awake, and the deep colour of the bags is reduced, and puffiness is reduced. It's such a good product and I think it's less than £2.50 from Body Care (if you live in the UK) so if you're eyes are looking super tired in the morning, go and pick this up!
I then used my Maybelline Dream BB Fresh cream in Light as my base. As you can see, just dotting that all over my face and blending it into my skin with my Real Techniques Beauty Blender.
When I was in school I never used BB Cream or Foundation, I just used concealer, powder, and mascara. Which never used to be the greatest look if I'm honest, my face used to get really orange throughout the day which was not great. So I'd not suggest that to any of you guys. Always use a base of some kind, even if it's just a moisturiser or primer.


Then I'm going in with my concealer, I do this same step every single day whether I'm wearing a full face of makeup or not. In my opinion concealer fixes everything. So I'm taking my Collection Lasting Perfect Concealer in Fair. I absolutely swear by this concealer you guys, I've been using it since I was twelve/ thirteen and I'm now nineteen. If 6/7 years of using it on a day to day basis doesn't tell you how amazing it is, I don't know what will.
But I'm just taking that under my eyes and onto my cheeks, down and around my nose, on my forehead, on my chin, and around my lips just to conceal any more redness and blemishes on my skin and of course to brighten my skin. We need all the brightening we can get on these early mornings. And I'm blending that in with the same sponge I used for my base.


As I just give my foundation and concealer a few minutes to settle into my skin. At school I never wore lipstick and at college I wore it on occasions. I sometimes do at uni, but not if I don't have time to put it on in the morning. However I always like to wear either a lip balm or something moisturising on my lips.
So I'm just taking a makeup wipe and shaping out my natural lips with a little over lining for my pout. This is a great way to achieve different lip shapes from day to day or to just start with a blank canvas on your lips before you do apply any lip products. Once I'm happy with their shape (the lip product is applied at the end) I will move onto setting my base with a powder.


Taking another product I've used for absolutely years, Rimmel London's Stay Matte in Translucent and just powdered all over my face with my Makeup Revolution F104 brush. Then taking a makeup puff to bake all over my face and blending it out with the same brush. Baking the face is totally optional but I like to do it because it gives me more coverage and I much prefer a full coverage face. But by blending out the powder all over the face it doesn't look too heavy or cakey, just seamless.
Once I'm happy, I then run my eyebrows through with a spoolie brush. Using another trusty favourite of mine, the Maybelline Brow Drama: Sculpting Brow Mascara in Dark Brown. I run that all the way through my brows just to give them some colour, a bit more volume, and a bit more shape whilst still looking like my natural brow. I just take the brow spoolie again to shape the tail of the brow in order to still get that arch.


Now it's time for blusher. I am skipping out on contour/bronzer just because it's slightly less natural than blush and I know I'd get carried away as I love a strong contour (if you couldn't already tell from previous tutorials). I never wore blush in school but I did during college and it was actually the one I'm applying on my cheeks today.
So I'm taking Rimmel London's 004 Pink Rose; applying this with my Makeup Revolution F103 to the apples of my cheeks and up to the hair line. This is just a really lovely natural pink blush that gives you a nice healthy glow and makes you look super well rested even if you're not. As you can see it has a natural glowing undertone.


Now onto highlighter! Again, I didn't wear highlighter in school but I did in college. The one on my face I used throughout the whole two years of college and I still use it to this day, it is of course none other than the MUA Undress Your Skin Shimmer Highlighter in the shade Pink Shimmer. I really need to get some more of this as I'm running out even though this highlighter has lasted me nearly three years.
So I'm just applying this onto my chin, down my nose, on the tip of my nose, on the highest points of my cheeks, on my temples, and on my forehead using my Makeup Revolution F105 brush.


Now again this step is optional as I know some people don't like glowy cheeks but I do I have always put highlighter on the apples of my cheeks over my blusher because it gives such a healthy appearance to my skin and I love the way it looks. It really seeps into my cheeks about an hour or so after application and it gives my skin that beautiful radiance and glow. I swear by doing it because I have so many wonderful compliments about how healthy my skin looks, so if you guys want a more healthy appearance to your skin dedicate it to where you place your highlighter.
Then I just added my mascara also and it is the Makeup Revolution Amazing Volume in Black. I actually really like this mascara. It does a good job of lengthening your lashes and separating them but not making them look too dramatic which is perfect for school.
The formula of this mascara is quite wet which means it's best to just wipe some of the product off on the top of the bottle as it applies better. You also have to allow it a little time to set other wise it will come off slightly. But you don't have to sit with your eye balls looking down for half an hour it's more like a minute or two. It has that kind of fragranted smell rather than a strong mascara smell. Most of the time cheap mascara's don't really do anything for my lashes but this one actually does and I'm so impressed with it.


Onto our final step, now I don't know about you guys but when I'm rushing to eat breakfast, do my makeup at the same time, and gotta get down to the bus stop or train station in time to get to school/ college, or if I've gotta walk to my 9:00am lecture on a Monday morning. I ain't got the time to be fully lining my lips and getting my lipstick on right and cleaning up the edges. I just ain't got the time. So the solution is a lip balm with some kind of colour in and that box is ticked by...
Maybelline Baby Lips!
I absolutely love Maybelline's Baby Lips; they're super cheap, good quality, wearable colours, they sit comfortable on your lips, smell good, they're not sticky, you know what the list could go on and on. But I think we've established they're a staple in my makeup collection.
Plus they have so many different collection's within the product: the originals, the electro range, the pop art range, the valentine range, and the dr rescue range. So they have a massive range to choose from and I would love to one day own them all. But today I am taking one of my absolute favourites and is a go to when I want a glossy and natural lip colour that matches my actual lips. It's from the original collection and is called Cherry Me. I just took it all over my natural lips (sorry for one side being slightly more over lined than the other, I fixed it after I took the photos, so apologies for that my loves) and it just makes them look glossy, healthy, and plump whilst still looking super natural.


The final step overall is hair, so as you guys saw in the previous pictures, my hair was plaited from the night before and I slept in it, in order to make it wavy. Again, I don't always have the time in the morning to do a full on hair style so something quick and easy like this is perfect.
Unfortunately some bits of hair came loose over night, like the front strands which means they're slightly straighter.
But by just doing something simple like this with your hair makes it look like you made a big effort when really you haven't.
I could always do a post on some quick and easy hairstyles for school, work, or if you're running late for an event etc. If you guys would like to see that just let me know!
But this is the finished look you guys. Just as an added extra here are the prices of all of the products I used today to see how inexpensive it is to create this look.
- Maybelline's Dream Fresh BB Cream (pink bottle) = £6.99
- Collection's Lasting Perfection Concealer = £4.19
- Rimmel London's Stay Matte = £2.99 (if purchased at Body Care - £3.99 at Superdrug and Boots)
- Maybelline's Brow Drama: Sculpting Brow Gel = £4.99
- Rimmel London's 004 Pink Rose Blush = £3.99 (packaging and name is slightly different to mine, but the actual blush colour is still called Pink Rose)
- MUA's Undress Your Skin Shimmer Highlighter in Pink Shimmer = £3.00
- Makeup Revolution's Amazing Volume Mascara = £2.00
- Maybelline's Baby Lips in Cherry Me = £2.99
Total = £31.41
Some of you might be thinking that isn't that cheap but trust me, compared to the majority of the high end makeup, it definitely is. It's an affordable price for near enough a full face of makeup.
I hope you guys like it and it's given you an idea on some quick makeup for school, college, uni, work etc.
I've got a few posts planned for this month of September guys so fingers crossed they all work out. Also now that it's officially September, it's officially Autumn and Autumn/Winter are my favourite seasons and I'm super excited! So expect some gorgeous autumnal makeup tutorials soon!
Thank you for reading guys.
I will talk to you all again soon!
Love,
Katie